Alim - Islamic Center
Alim Islamic Center WordPress/ version 1.1
Introduction
- Item Name : Alim - Mosque & Islamic Center WordPress
- Item Version : v 1.1
- Author : Nauthemes
- Support Forum : nauthemes@gmail.com
First of all, Thank you so much for purchasing this
theme and for being my loyal customer. You
are awesome!
You are entitled to get free lifetime updates to this
product + exceptional support from the author
directly.
This documentation is to help you regarding each step of installation and customization. Please go through the documentation carefully to understand how this theme is made and how to edit this properly. I have given details on how to setup theme options and visual composer elements. In Case, You still have any issues you can contact us anytime at nauthemes@gmail.com
Getting Started! #back
to top
Before starting WordPress & Theme installation, please make sure you have downloaded full package from themeforest and unzipped the packaged. Your package will have documentation, paid plugins, theme zip file and sample content directory.
Install WordPress #back
to top
Here is video on how to
install WordPress Theme.
Please read more about WordPress here. WordPress
Installation via FTP.
Upload via WordPress Admin
WordPress is well-known for its ease of installation. Under most circumstances, installing WordPress is a very simple process and takes less than five minutes to complete. 5 Steps To Install WordPress
Get a Installation Service Ask a QuestionNote:
Please make sure you have memory upload limit size is set more than 32MB on the server. If you need help in installation of WordPress and Theme, You can let our support team know they will install it for you or guide you!
How to Install Theme #back
to top
Upload via WordPress Admin
Upload via WordPress Admin >> I assume you already have a fresh copy of WordPress installed on your server. You can now install the Alim Theme in two different ways. Admin Panel or FTP.
When you are logged in your WordPress Goto Appearance > Themes > Install Themes > Upload and select the theme zip file Alim.zip, You can find this inside the Alim Package that you downloaded from Themeforest.
Get a Installation Service Ask a QuestionUpload via FTP Server
Unzip the contents of the Alim.zip file and upload the folder named Alim to your server to wp-content/themes/ folder using FTP client (FileZilla or WINSCP).
Get a Installation Service Ask a QuestionInstall WordPress Via FTP
Import Demo Content
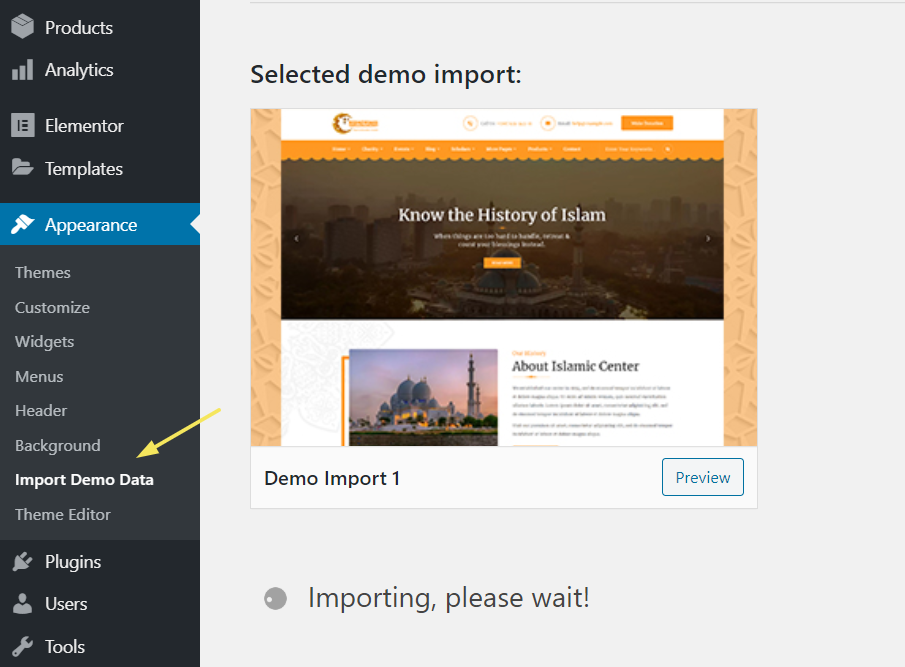
Please make sure that you have installed all the recommended pluigns first.
Import Demo Content
Please make sure that you have installed all the recommended pluigns first.
Activate Theme with License Code
You will be able to import demo content once theme is activated
Note: Make sure the "parent theme is active" and "cache plugin is disabled" while verifying the purchase code. You can enable child theme once license code is validated
Please *DEREGISTER CODE* before resetting or re-installing WordPress.Necessary Plugins #back
to top
Elementor #1
We built this theme with No. 1 page builder currently in the world, Elementor. its very easy to use and fast. You can quickly create all the templates from ground up.

Event Manager #3
We are using Event Manager plugin for publishing, managing, and counter events. We have added that plugin as optional in the theme, you can use this to create your desired events and display theme accordingly in the webpage.

Charitable #4
Charitable is the donation plugin that gives you everything you need to start accepting donations today, for free. Designed to integrate seamlessly with WordPress, Charitable allows non-profits and developers to create powerful fundraising platforms on their own website.
Contact Form 7 #5
Contact Form 7 can manage multiple contact forms, plus you can customize the form and the mail contents flexibly with simple markup. The form supports Ajax-powered submitting, CAPTCHA, Akismet spam filtering and so on.

MailPoet 3 #6
With MailPoet, your website visitors can sign up as newsletter subscribers and build your mailing list, all without leaving your WordPress admin.
We have also added Charitable Plugin for donations and campaigns management. You can get donations, publish and display your campaigns on the website. Paypal and offline donations are part of the free plugin, for more gateways you can purchase your own license for this plugin.
You can also manage your newsletters using latest mailPoet plugin 3. Contact Form 7 used for contact forms.
Elemetor Wigets
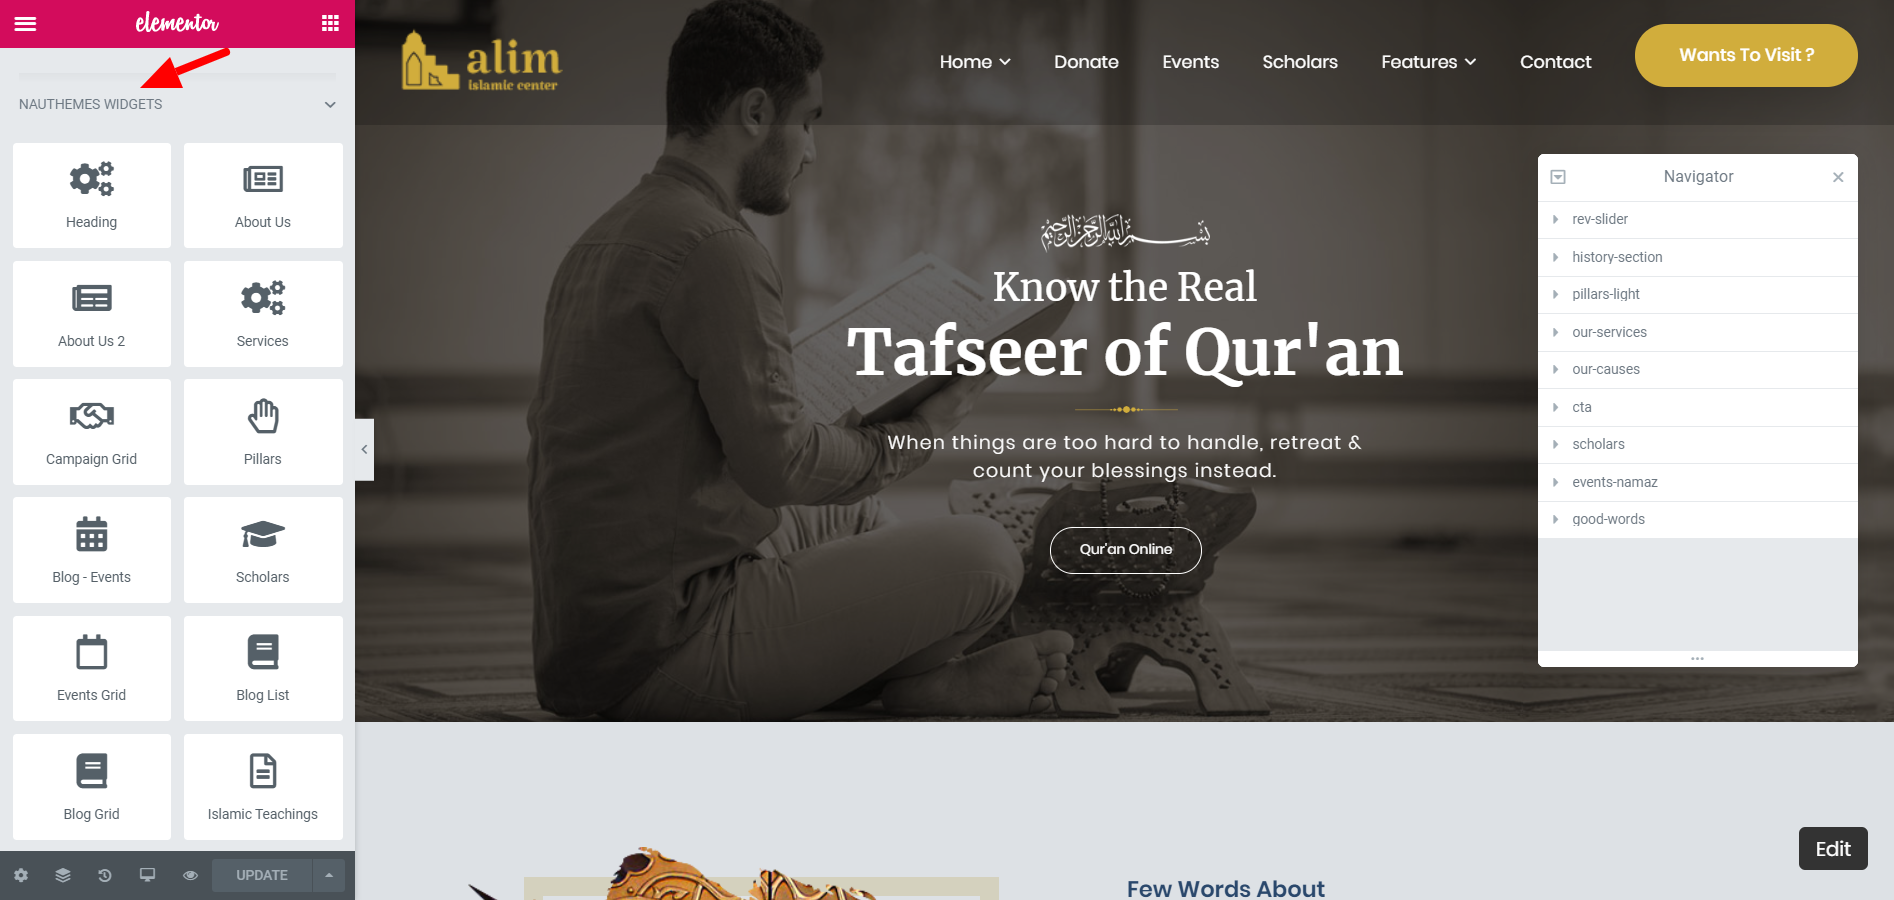
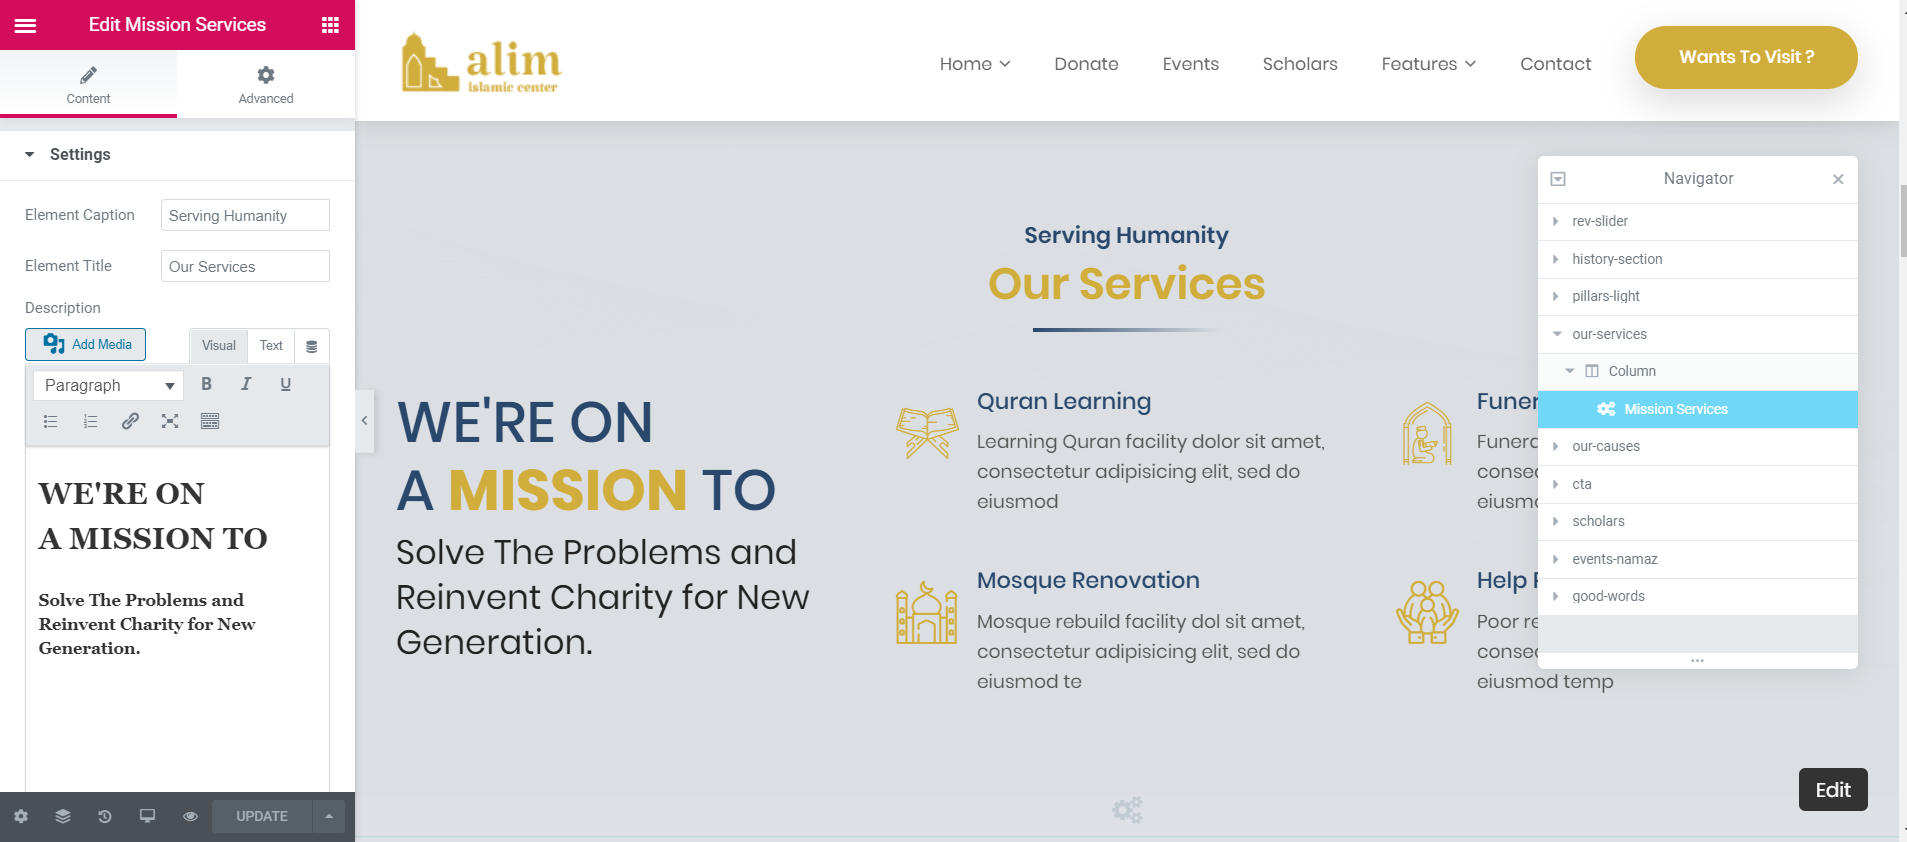
Add Services Mission Elementor Widget
Please make sure you have services added in the dashboard > services > add new.
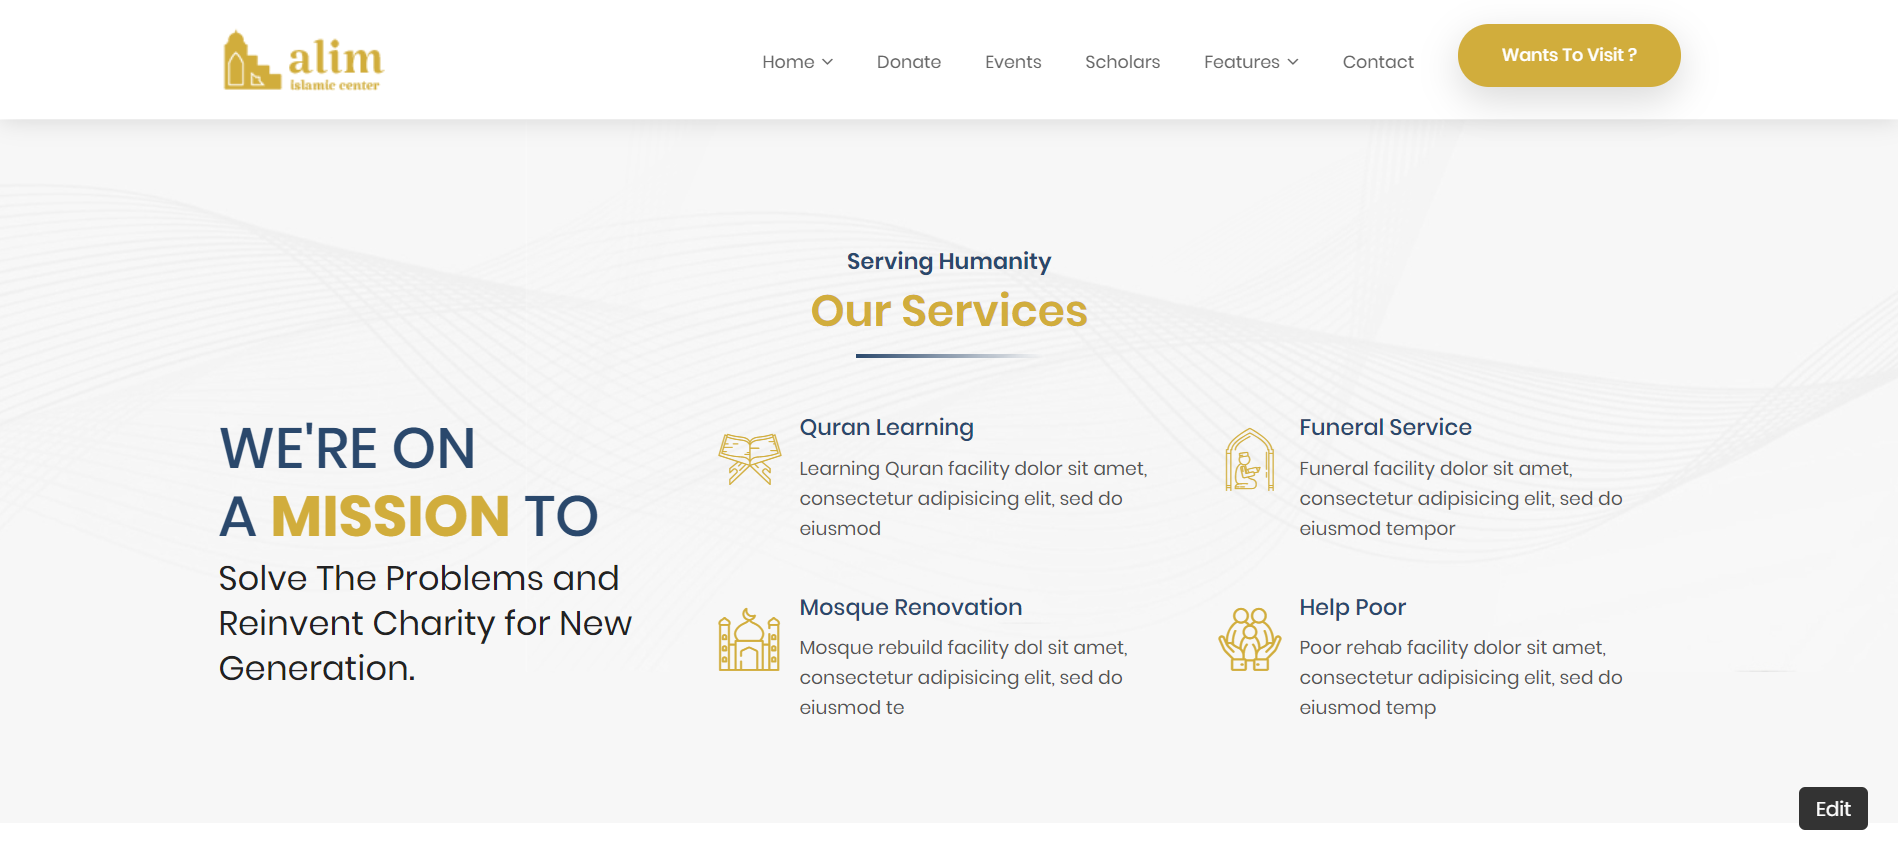
Place the elementor widget on the page and configure the settings including title, text and number of posts to display.
Add Team Members Elementor Widget
Please make sure you have team members added in the dashboard > team > add new.
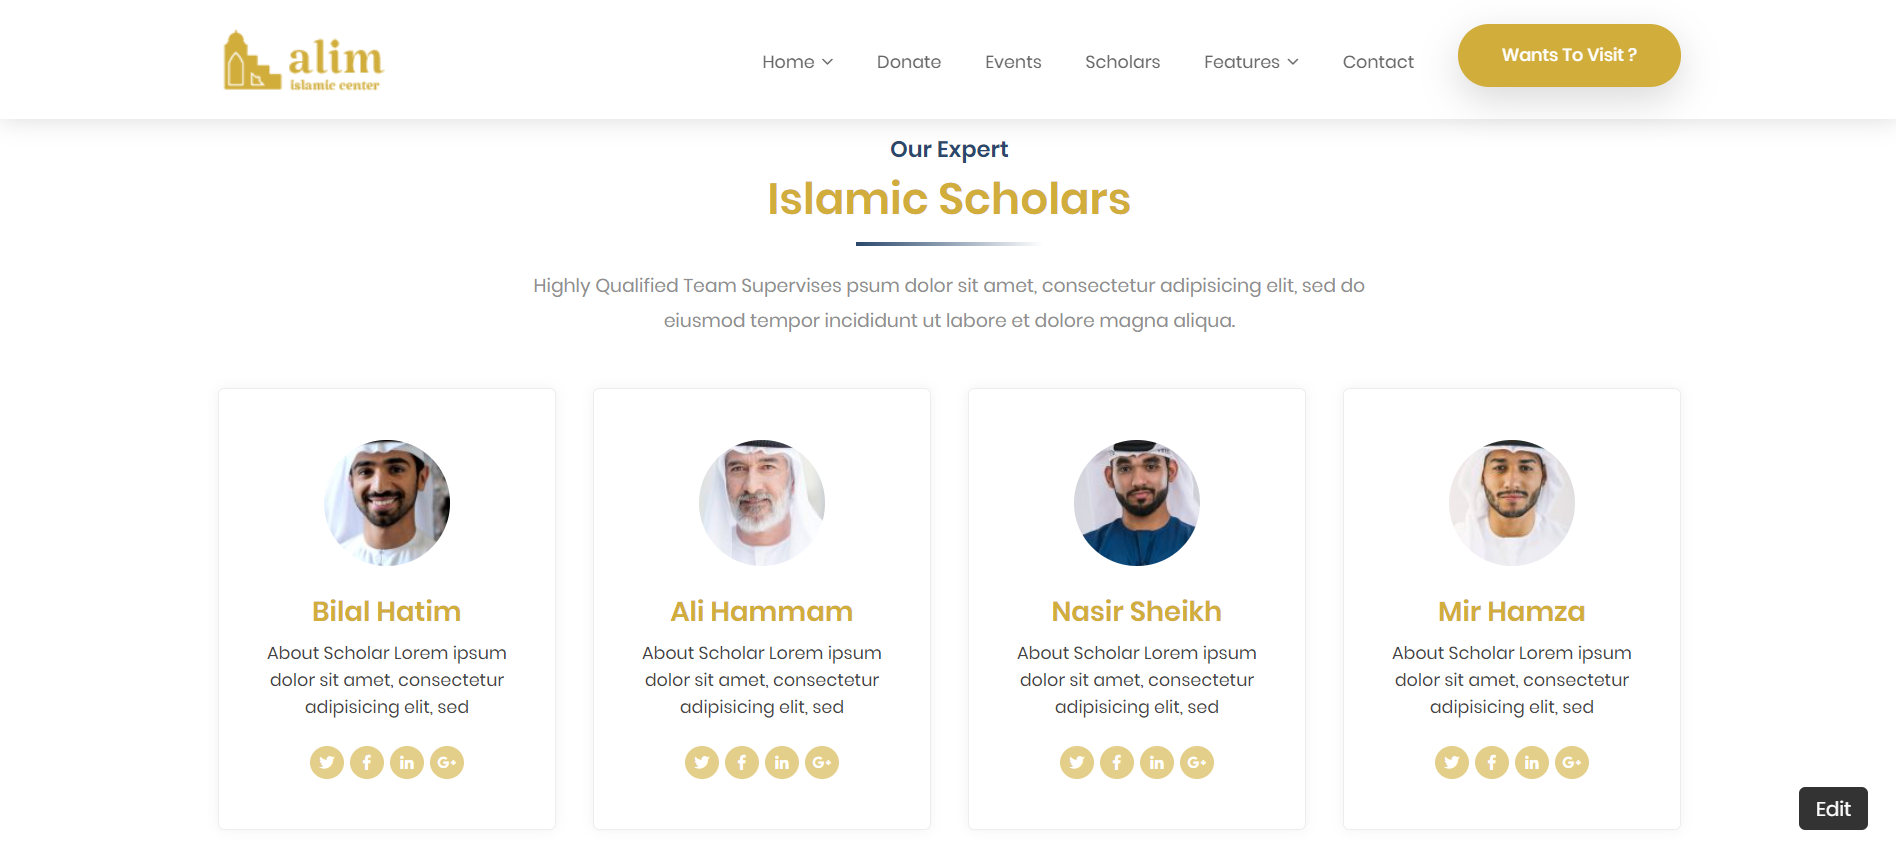
Place the elementor widget on the page and configure the settings including title, text and number of team members to display.
Add Events & Namaz Time Elementor Widget
Please make sure you have events added in the dashboard > events > add new.
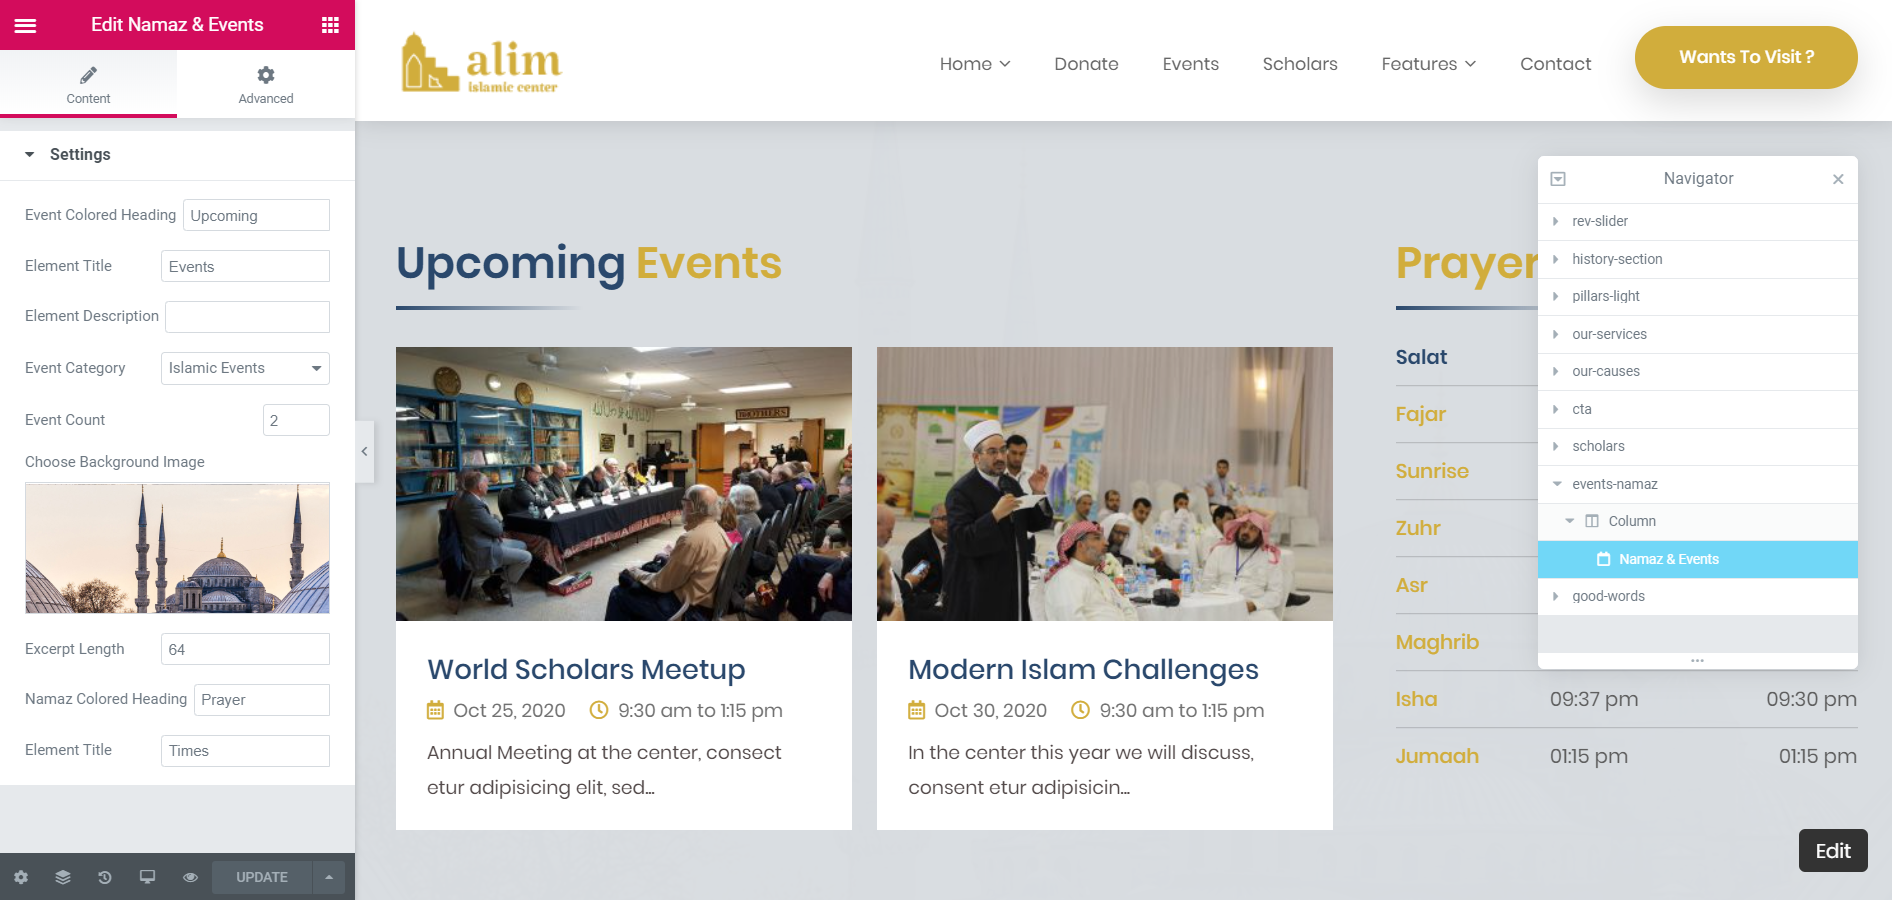
Place the elementor widget on the page and configure the settings including title, text and number of events to display. Namaz Times can be configured from Dashboard > Settings > Salat Times. Instructions regarding namaz times settings are also added below.
Salat Times:
All settings for Salat/Namaz Time is available at Dashboard > Settings > Salat Times.
You can add your regional salat timings here; I've also shared a sample file with you, please add your regional salat times in that file accordingly. You need to add 365 days in the file.
Download Namaz Time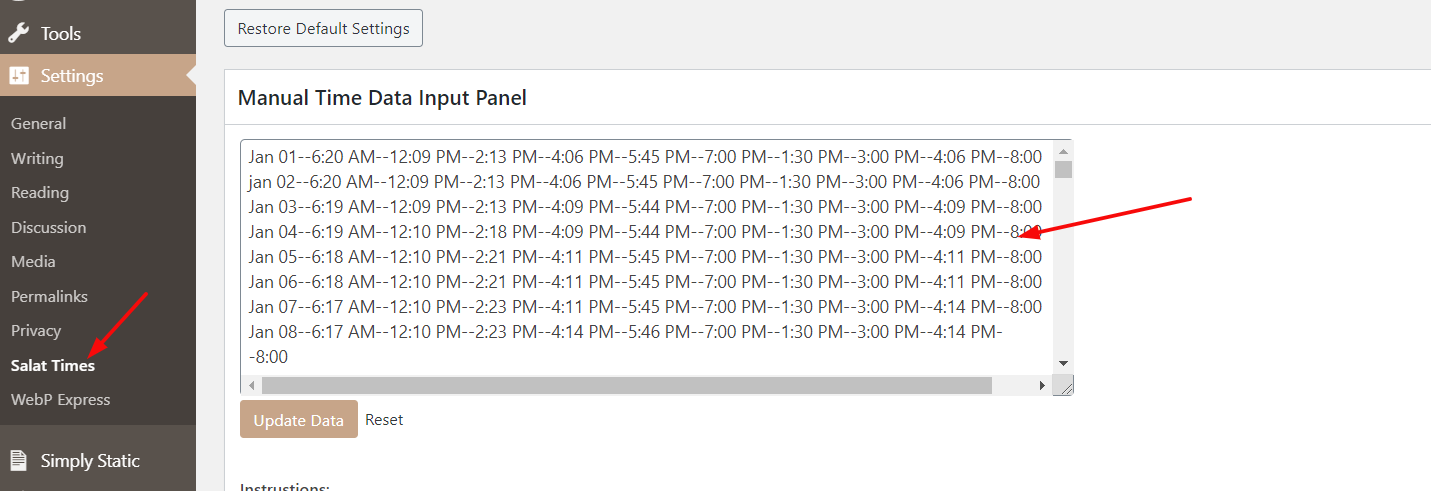
Instructions:
Input like this:
Date--Fajr--Zuhr--Asr--Magrib--Isha--Fajr Jama'h--Zuhr Jama'h--Asr Jama'h--Magrib Jama'h--Isha Jama'h
Use double hyphen "--" as separetor and one line for one day.Example:
Jan 01--05:13 AM--01:15 PM--03:30 PM--06:10 PM--08:15 PM--05:30 AM--01:30 PM--03:45 PM--06:15 PM--08:30 PM
Jan 02--05:14 AM--01:15 PM--03:30 PM--06:10 PM--08:15 PM--05:30 AM--01:30 PM--03:45 PM--06:15 PM--08:30 PM
Jan 03--05:14 AM--01:15 PM--03:30 PM--06:10 PM--08:15 PM--05:30 AM--01:30 PM--03:45 PM--06:15 PM--08:30 PM
Connect Your Free Email Marketing Account
Through a partnership with AWeber, we have pre-embedded a themed sign up form for you to begin building your audience up to 500 subscribers completely free.
Follow these simple steps to connect your sign up form to AWeber and start building your email list:
Step 1: Sign Up for a Free AWeber Account
Visit aweber.com and create a free AWeber account. After completing the registration, log in to your account.Step 2: Get Your Unique List ID
This unique ID will be used to connect your forms to your AWeber account In the AWeber dashboard, go to List Settings Locate your Unique List ID.Step 3: Add the List ID to Your Theme's Email Capture Forms
Open the theme files or use the theme's settings to locate each email capture form. Find the line of HTML that includes: Replace [ENTER YOUR AWEBER LIST ID HERE] with your unique List ID from AWeber. Delete any instance of the following HTMLcode:Is this your website? Claim your form to manage and email your new subscribers!
Save the changes to ensure that the form is connected to your AWeber list.Step 4: Test Your Form
Submit a test email using your form to ensure it correctly connects to your AWeber list.
Check your AWeber account to confirm that the new subscriber is added.
Congratulations, you’re on your way to capturing and connecting with the visitors to your new website! If you have questions about your AWeber account or the configuration above, please connect with AWeber. They have the best team that’s ready to help you via phone, live chat or email any time of the day.
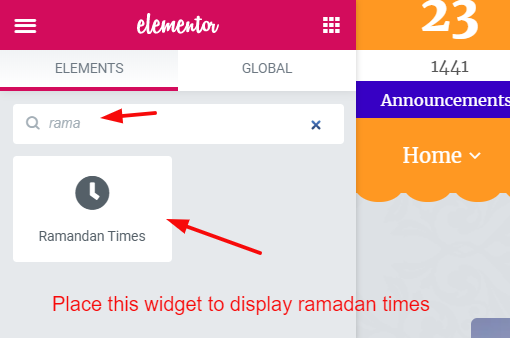
Ramadan Times:
All settings for Ramadan Sehr & Iftar Time is available at Dashboard > Theme Options > Ramadan Times.
I'm sharing you a file here, place the content of that file in Theme Options > Settings > Ramadan Times and save settings.
Place the widget https://prnt.sc/shvoz3 on the page to display the Ramadan times. You only need to update the data Month of Ramadan in the given file according to your locality time.
Download Ramadan TimePlace the elementor widget where ever you want on the page, and it will start to display the Sehr & Iftar Time accodingly.
How to Use Option Panel #back
to top
You can find theme options panel in Dasboard > Theme Options or you can click the admin top bar to customize.
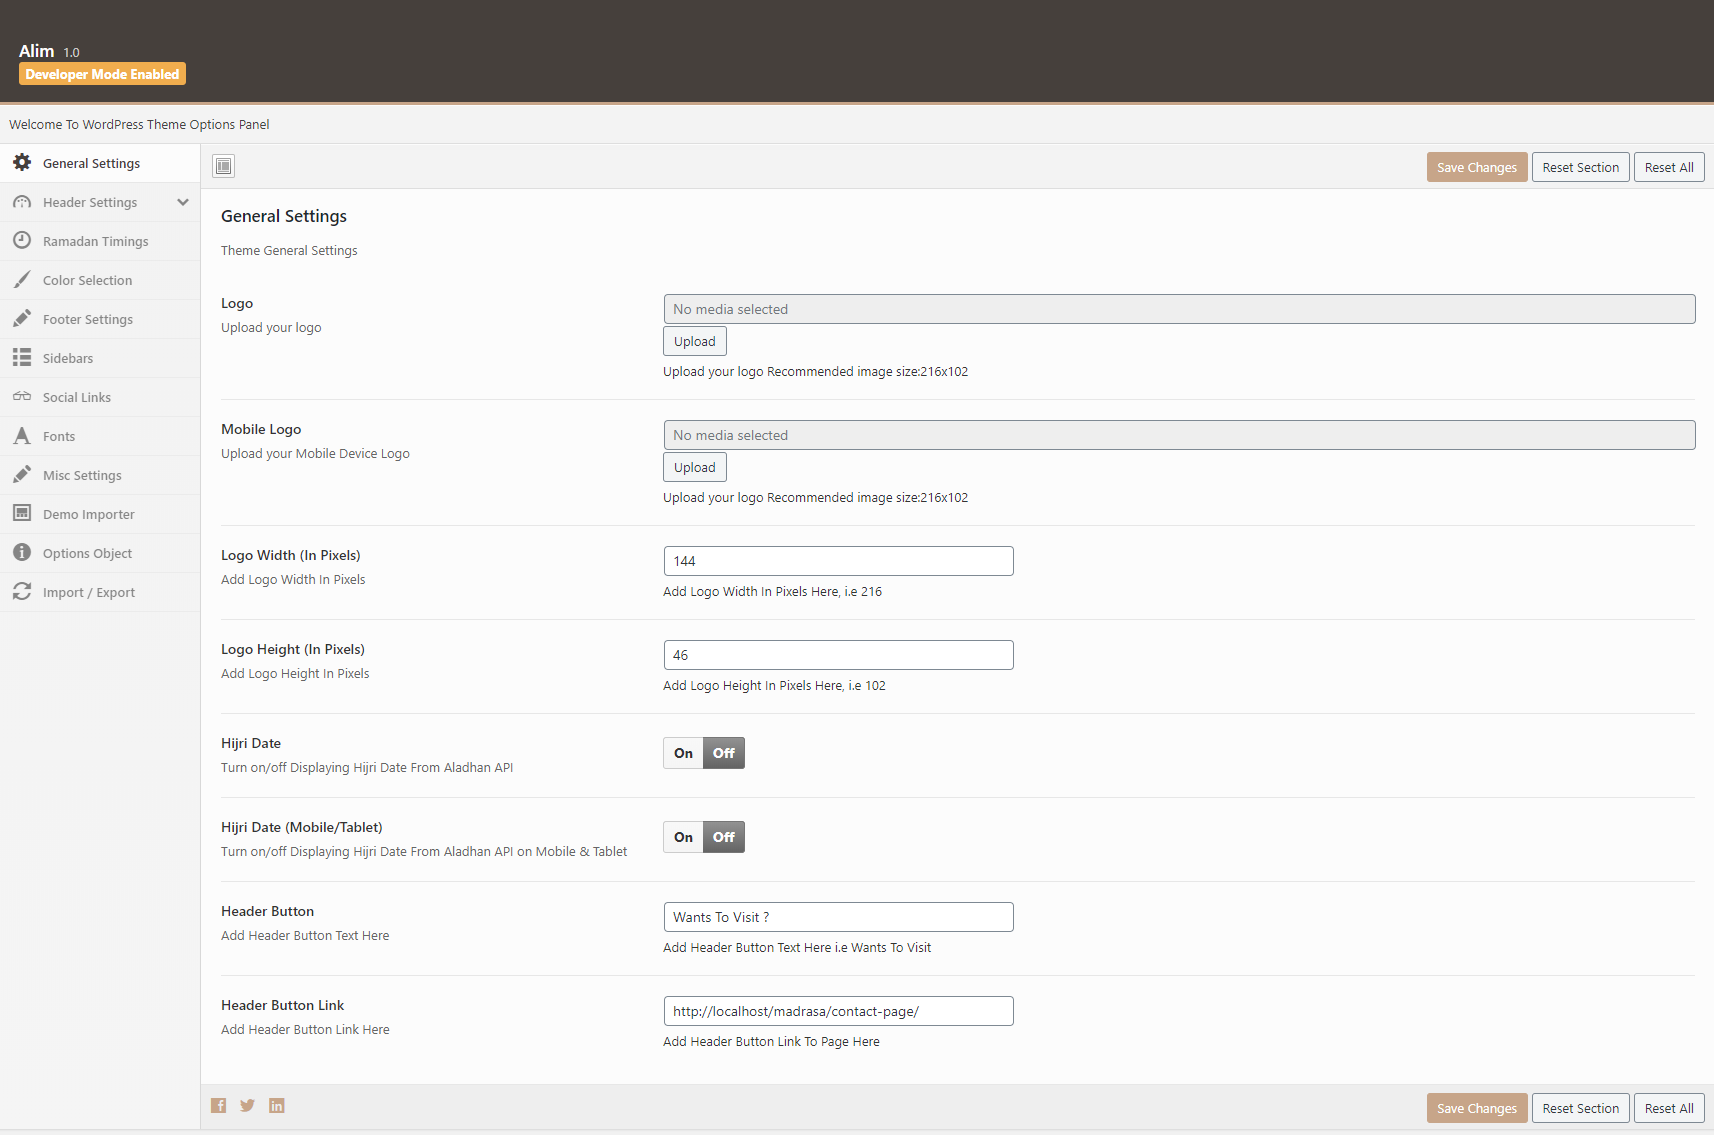
General Options - #back to top
In general options you can find logo and logo width and height options. More options are coming soon here.

Top Bar & Header Options - #back to top
You can set your header options from here, including phone number, email address, social icons on/off. Search with menu etc. In header section you can change image for inner banner/secondary header. Enable disable breadcrumbs from this section too.
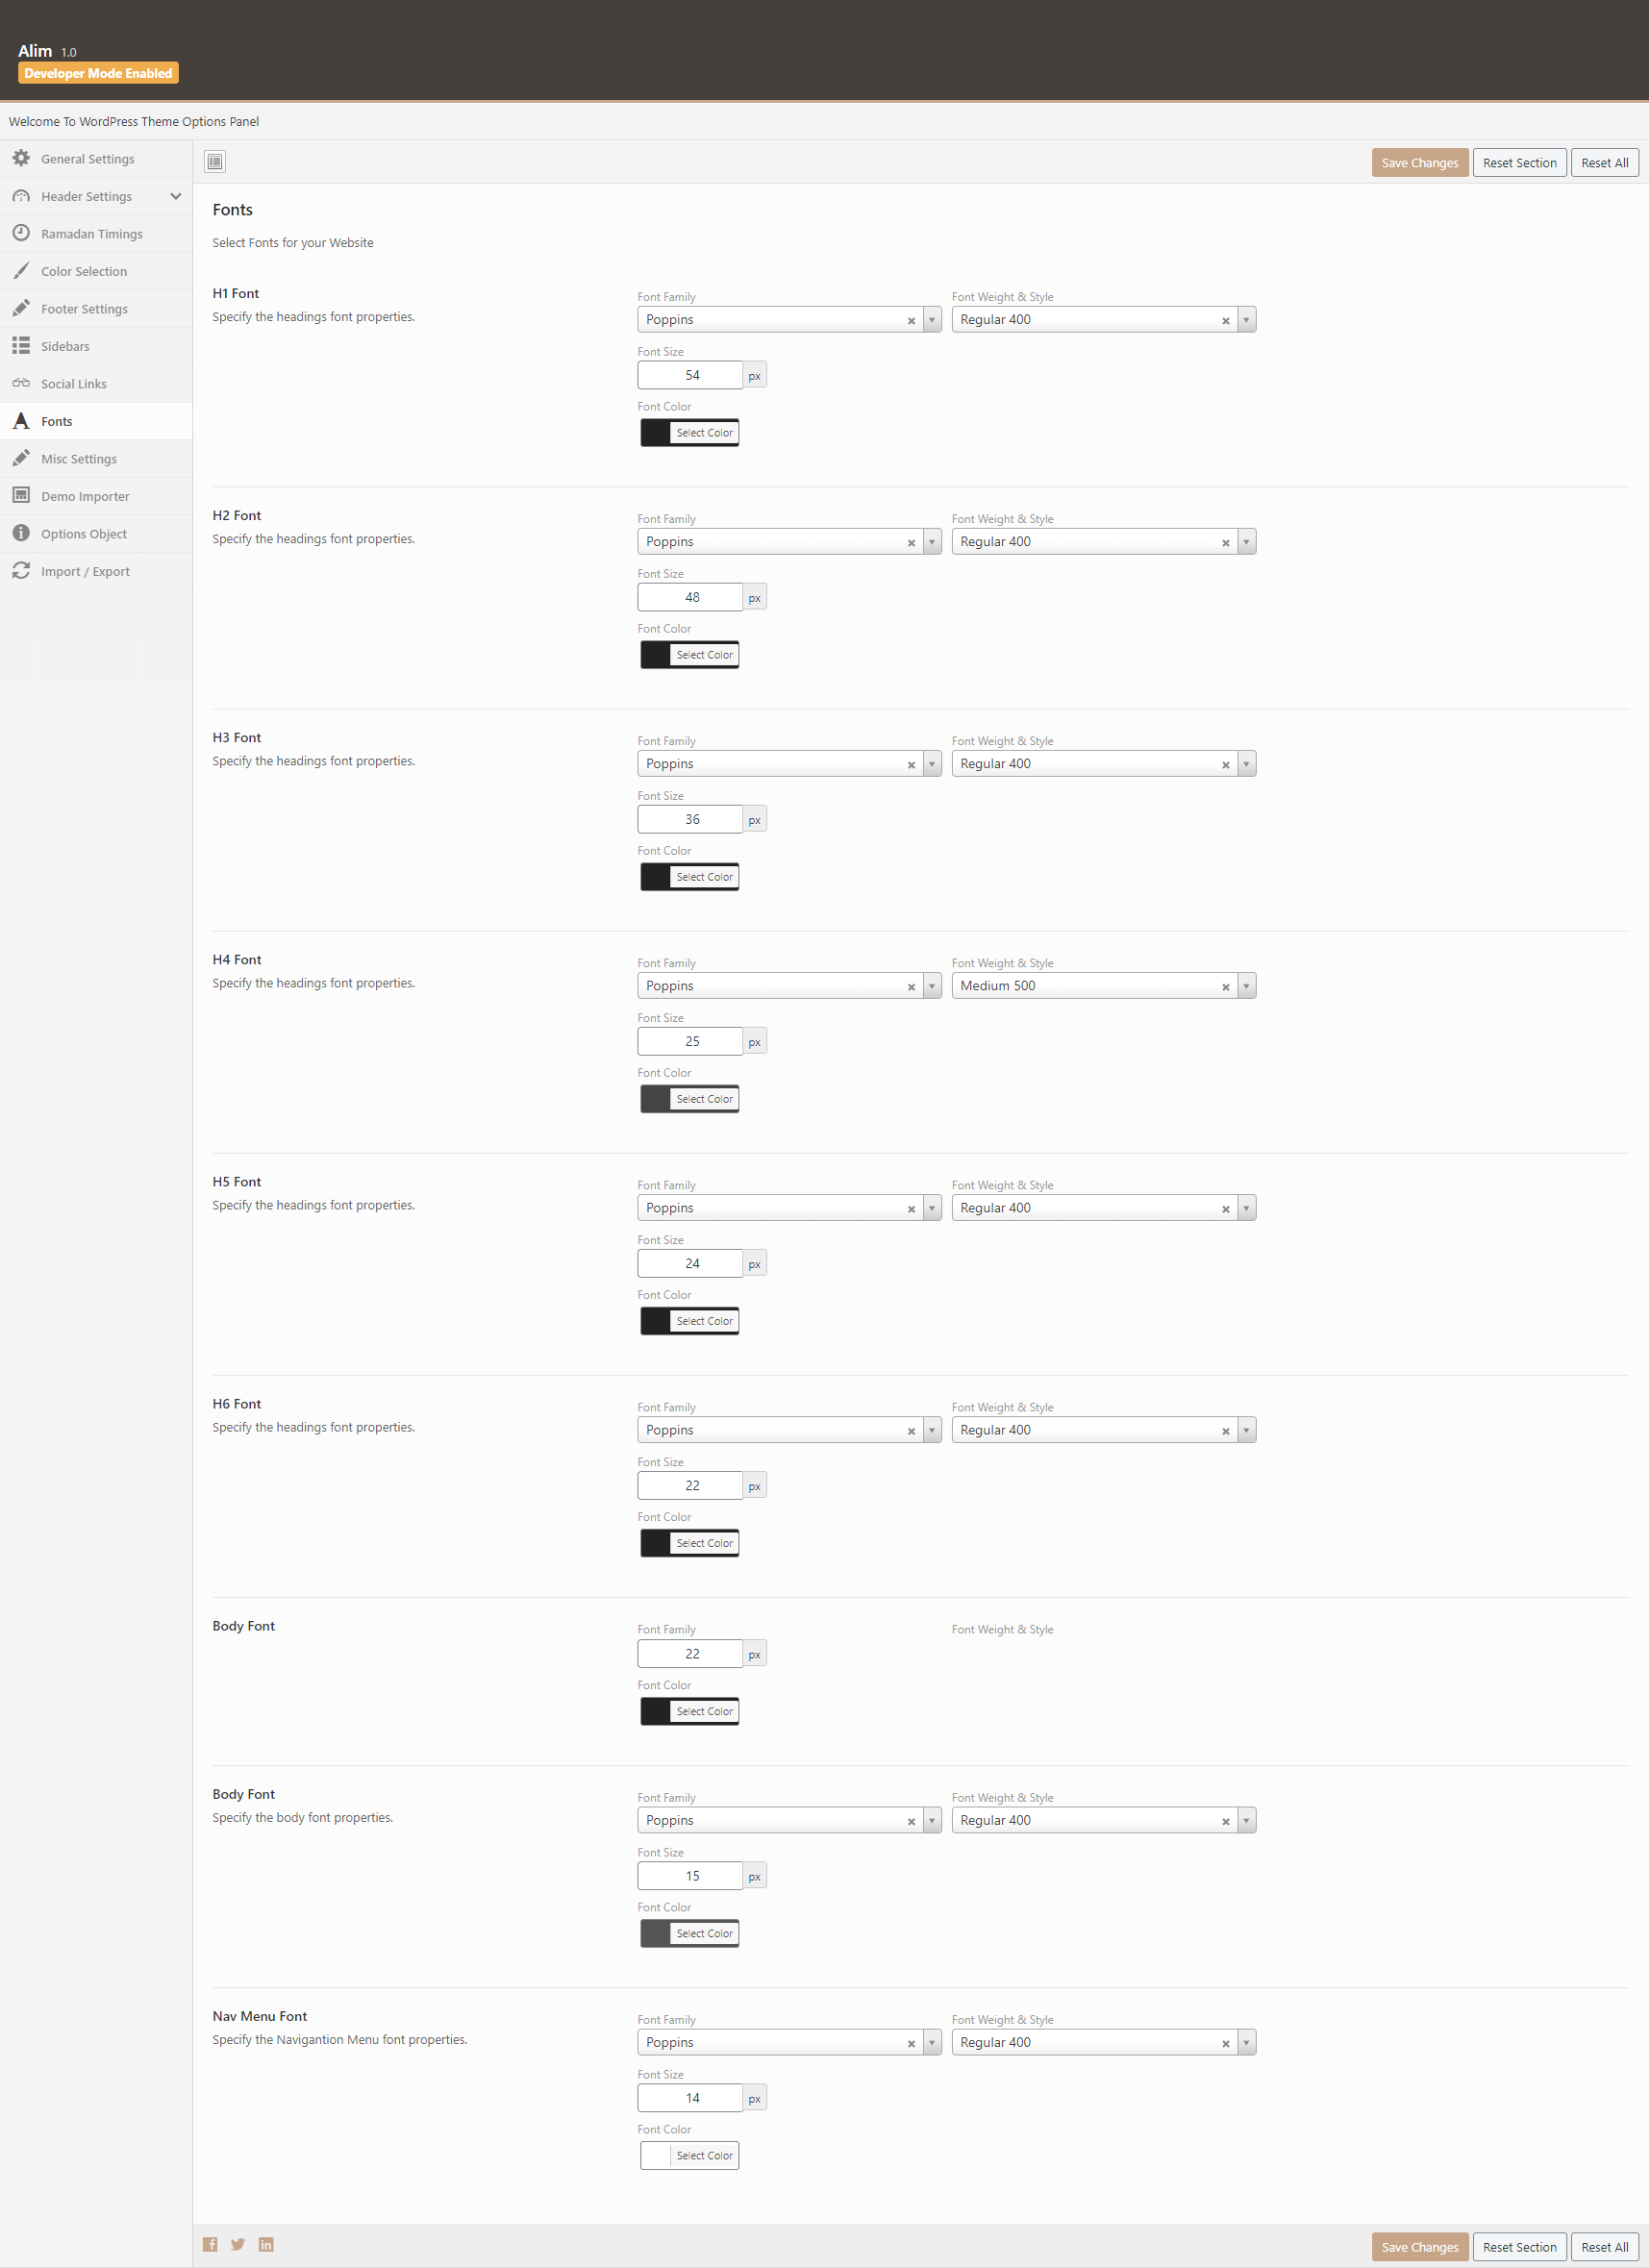
Font Options - #back to top
You can manage your typography of the site from here, controls for headings h1 to h6 here, along with paragraphy and menu font family, font size and font weight.
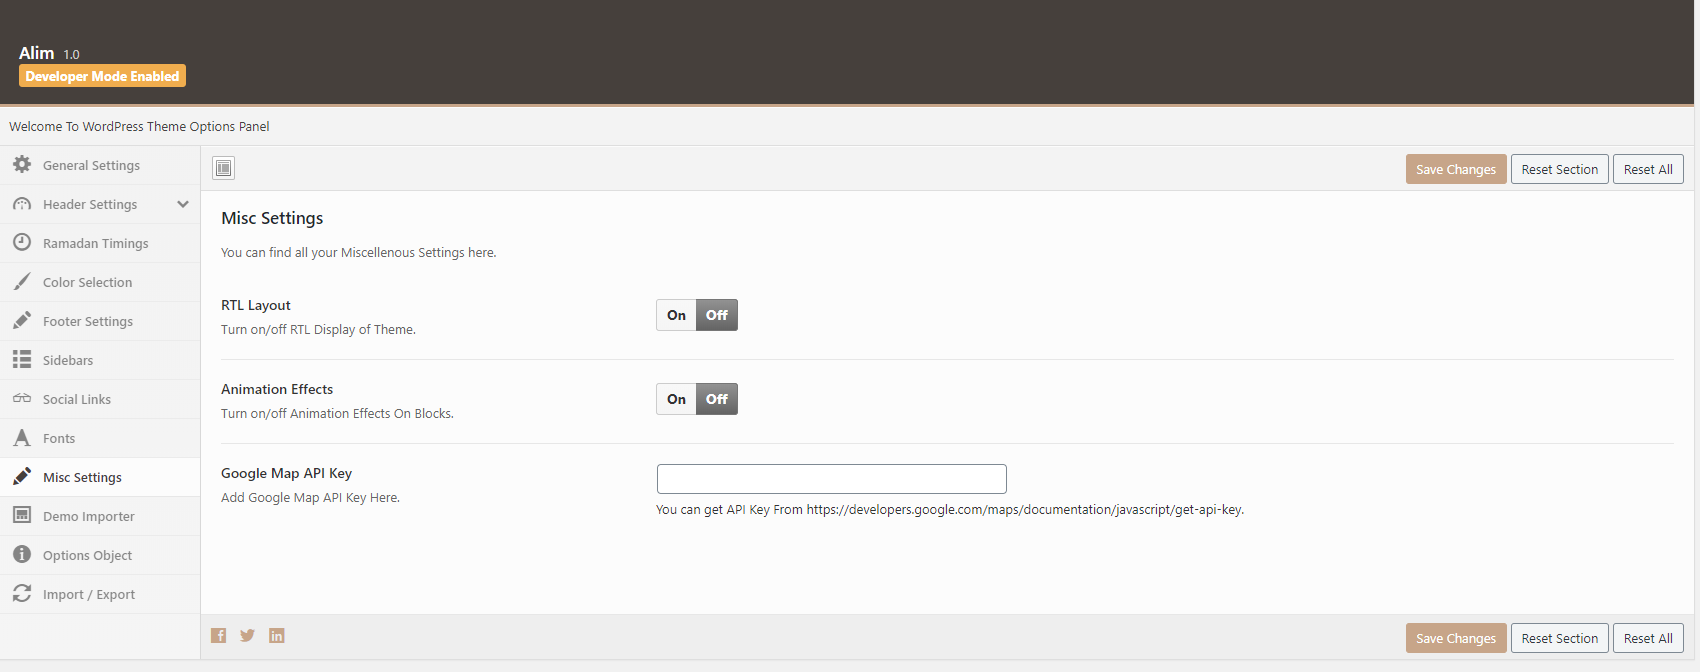
Misc Options - #back to top
Misc options include RTL and Google Map API Key options. If maps on your site is not working, then add your own key for the site here. You can get API Key From https://developers.google.com/maps/documentation/javascript/get-api-key
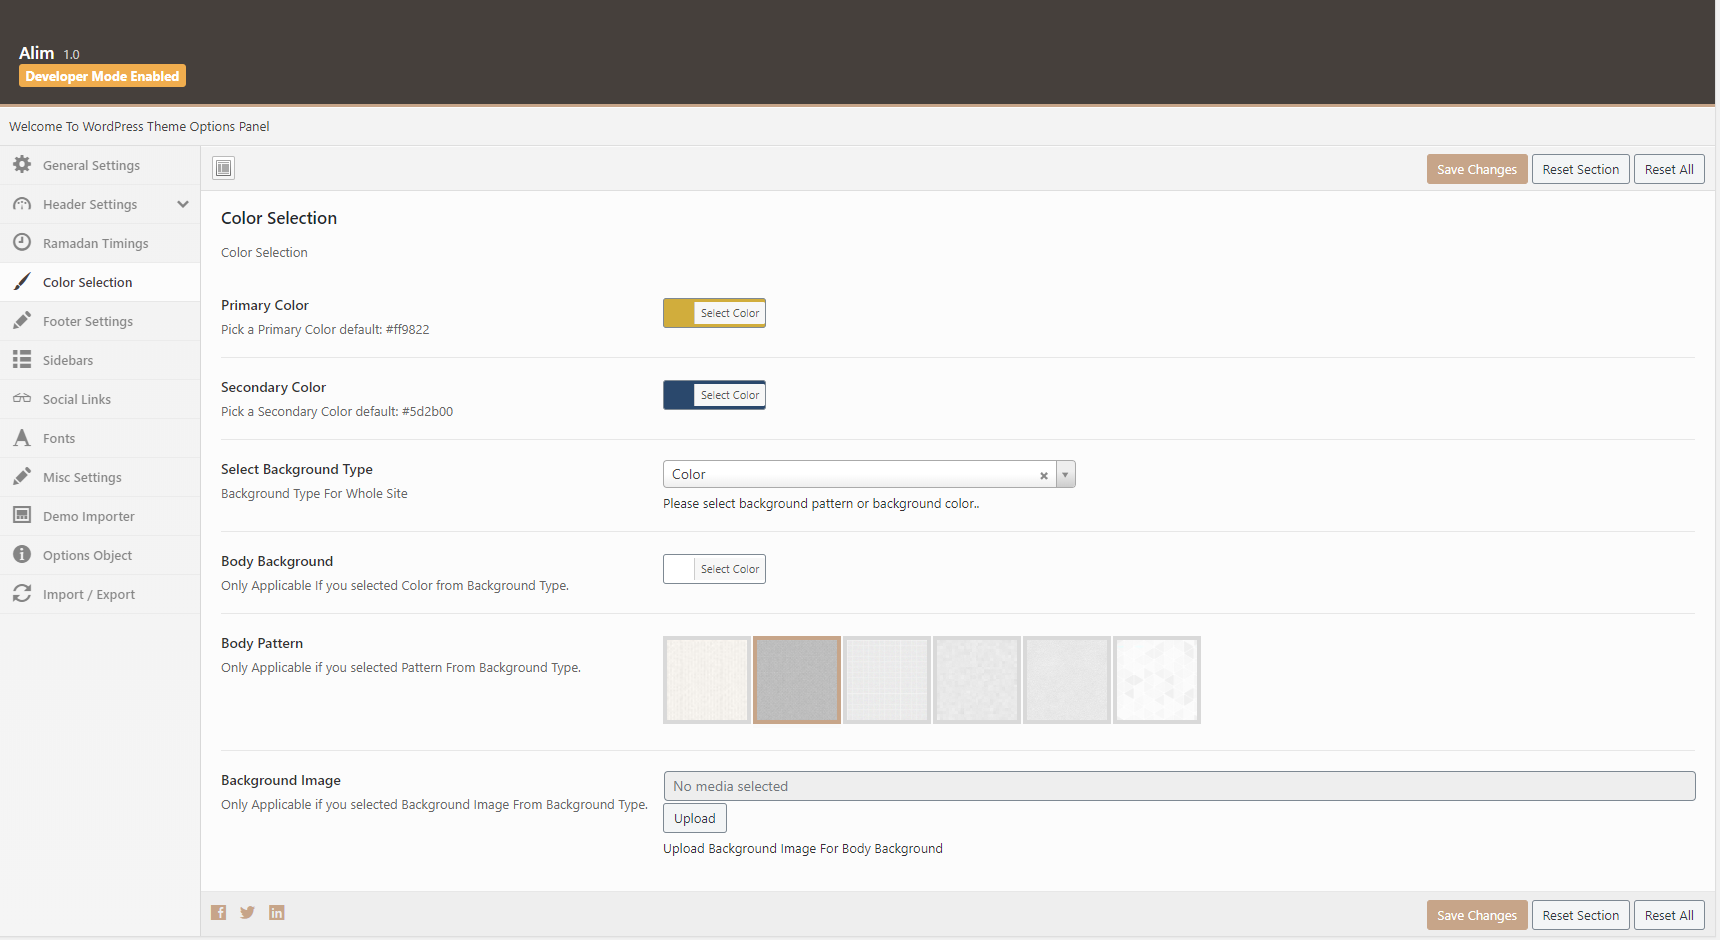
Color Options - #back to top
You can change your primary color of whole theme from this one place. Change the color and it will applied to all sections. We have also giving secondary color option for this site.
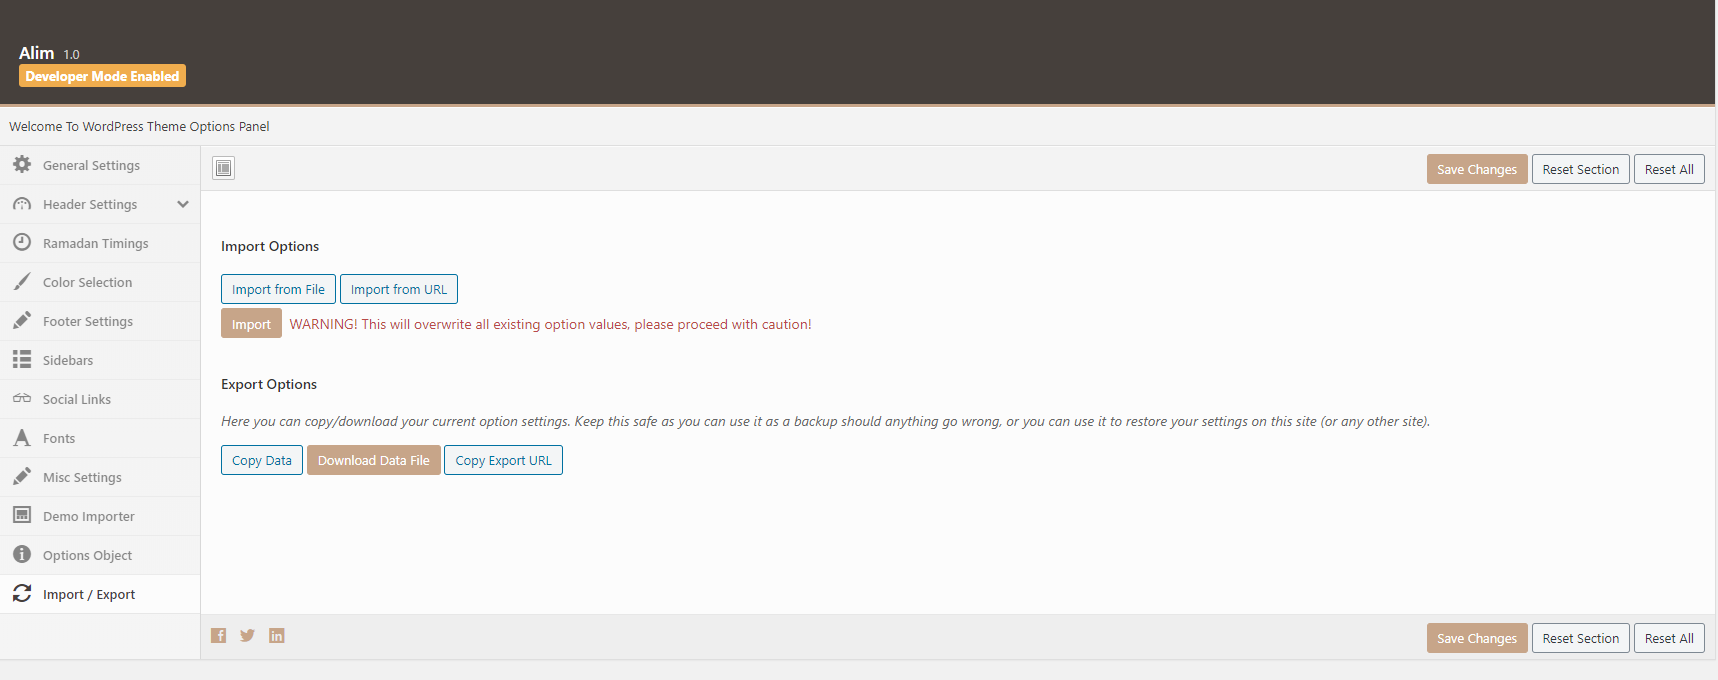
Import & Export Options - #back to top
You can import your default settings and export them as well from this section. Import default settings from import settings file given in the sample content directory of the full package you downloaded from themeforest for quick start.
Contact Form 7 - Code #back
to top
Contact Form 7 Code for CONTACT US Page, copy paste this code in Dashboard > Contact
[text text-694 placeholder "Name"][email email-643 placeholder "Email"][text text-548 placeholder "Phone"][text text-548 placeholder "Subject"][textarea textarea-438 placeholder "Message"] [submit class:thm-btn class:brd-rd40 "Contact Us"]
Contact Form 7 Code for CONTACT WIDGET, copy paste this code in Dashboard > Contact
[text* text-471 class:brd-rd5 placeholder "Name"][email* email-177 class:brd-rd5 placeholder "Email"][textarea* textarea-678 class:brd-rd5 placeholder "Message"][submit class:brd-rd5 class:theme-btn class:theme-bg "Submit Now"]
Support Desk #back to
top
Please remember you have purchased a very affordable theme and you have not paid for a full-time web design agency. Occasionally we will help with small tweaks, but these requests will be put on a lower priority due to their nature. Support is also 100% optional and we provide it for your connivence, so please be patient, polite and respectful.
Please visit our profile page or ask question @yourusername
Support for my items includes:- * Responding to questions or problems regarding the item and its features
- * Fixing bugs and reported issues
- * Providing updates to ensure compatibility with new software versions
- * Customization and new features request
- * Support for third party software and plug-ins
- * Make sure your question is a valid Theme Issue and not a customization request.
- * Make sure you have read through the documentation and any related video guides before asking support on how to accomplish a task.
- * Make sure to double check the theme FAQs.
- * Try disabling any active plugins to make sure there isn't a conflict with a plugin. And if there is this way you can let us know.
- * If you have customized your theme and now have an issue, back-track to make sure you didn't make a mistake. If you have made changes and can't find the issue, please provide us with your changelog.
- * Almost 80% of the time we find that the solution to people's issues can be solved with a simple "Google Search". You might want to try that before seeking support. You might be able to fix the issue yourself much quicker than we can respond to your request.
- * Make sure to state the name of the theme you are having issues with when requesting support via ThemeForest.
Files & Sources #back
to top
These are the primary CSS files used for general front-end styling. Use these to customize your theme even further. All included JavaScript codes under Alim/assets/css/
- 1. style.css - Primary stylesheet
- 2. bootstrap.css - Bootstrap stylesheet
- 3. owl-carousel.css - OWL Carousel
- 4. fontawesome.css - FontAwesome Font Icons stylesheet
- 5. custom.css - Pathos Color Schemes stylesheet
- 6. animate.css - CSS3 animations css file
These are the various attribution inks to the Javascript files included or modified to work with in this theme. All included JavaScript codes under Alim/assets/js/
- 1. bootstrap.js - Bootstrap JavaScript
- 2. custom.js - All JavaScript Plugins
- 3. fancybox.js - Lightbox JavaScript
- 4. owl-carousel.js - Lightbox JavaScript
- 5. downCount.js - CounterJavaScript
- 6. wow.js - CSS3 animation JavaScript
Version History (Changelog) #back
to top
You can find the version history (changelog.txt) file on Alim.zip folder or you can check changelog on theme sale page.
Once again, thank you so much for purchasing this theme. As I said at the beginning, I'd be glad to help you if you have any questions relating to this theme. No guarantees, but I'll do my best to assist. If you have a more general question relating to the themes on ThemeForest, you might consider visiting the forums and asking your question in the "Item Discussion" section.
Changelog
Initial Release: V 1.0